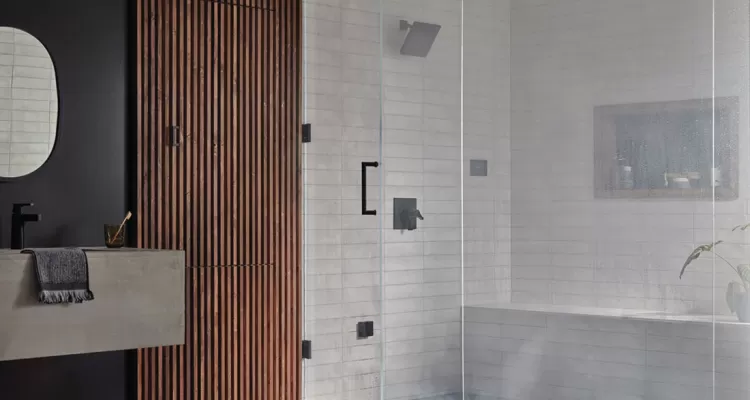
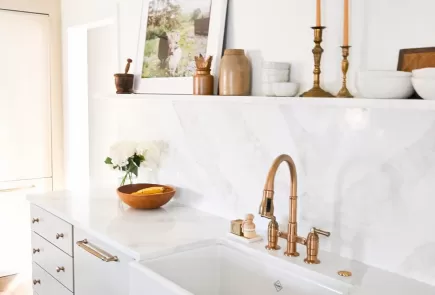
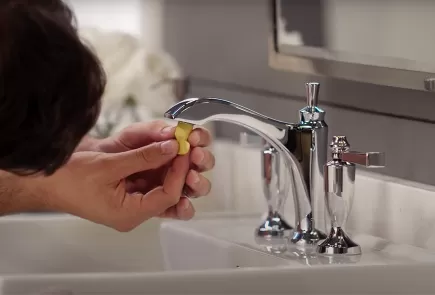
The steam shower generator can be up to 70 linear feet away from the steam control inside the shower but closer is better for the best experience. Placing the steam generator in a nearby closet or inside a vanity is the ideal location for service access. The basement or attic may also suffice, but the space must be a dry, non-freezing indoor location with a temperature range of 50 to 104 degrees Fahrenheit. To operate a steam shower generator, you need both a water line and a dedicated power line. A drain connection is optional, but it can increase the life of the generator with regular maintenance, especially if you have hard water.
Once you've taken these considerations into account, you're ready to get started on the design and construction of your steam shower. The basic steps below will help guide you through the process.
Paso 1: Design the Shower
Bather comfort and safety are crucial to a luxurious steam shower experience. Thinking through the bathing process—from stepping into the shower, to lounging during the steam bath, to using the control to turn off the system—will help you design a space that delivers a relaxing experience.
A Seat is Essential: A shower seat is a must-have feature in any well-designed steam room. While a folding shower seat is ideal if space is limited, you may want a built-in bench in a larger steam shower. Keep in mind, however, that built-in benches must be sloped to allow for water runoff.
Steam Outlet and Control Placement Matters: To keep the bather safe and comfortable, the steam outlet should be placed away from both the entrance and the seating area. However, for the bather's convenience, the steam shower controls should be near the seat (about 4 feet above the floor and, if applicable, 6 inches above the tub). Because the control can sense the temperature in the room, it should never be located above the steam outlet. Read the installation instructions thoroughly to ensure proper steam head and control placement.
A Sloped Ceiling is Optional
Sloping the ceiling to prevent dripping is an option, but it is not always effective. If you have a tiled ceiling with recessed grout lines, for example, the water may drip at the tile's edge rather than travel all the way down the slope. If you do decide to slope the ceiling, a minimum of 1 inch of slope per foot of ceiling is recommended. Keep in mind that sloping can significantly affect ceiling height in a large space. In a large steam shower, you may choose to peak the slope in the center or just slope the area above the bench.
Paso 2: Choose the Materials
The main difference between a regular shower and a steam shower is the intensity of the moisture, so materials and quality of construction are of the utmost importance. Both the shower walls and ceiling must be assembled appropriately (e.g., backer board, vapor barrier or membrane, and finish materials) and according to the manufacturer's specifications for each material to ensure a waterproof enclosure.
Be Sure to Check Material Temperature Limits: The steam entering the shower will be very hot: 212 degrees Fahrenheit (100 degrees Celsius). Most tile and natural stone will be able to withstand the heat, but other materials may not. Always consult the manufacturer to discuss temperature limits and expansion before choosing acrylic or manmade plastic-based materials.
Waterproof All Surfaces: You need to protect all surfaces from moisture, including the ceiling, so make sure that the material you choose for the steam shower is completely waterproof.
When to Insulate or Add Radiant Heat: Insulation of interior walls is optional. The duration of a typical home steam bath is very short, so the energy saved by insulating the interior walls is limited. Insulation of exterior walls is a must, and you cannot over-insulate. In cold climates, radiant heat in the floor and walls can help take out the chill. You could even add radiant heat to the built-in bench for an extra treat.
Shower Door Considerations: Be sure to order a door specifically designed for a steam shower. Typically, the shower doors will be completely sealed on both sides and the top. Leaving the bottom unsealed helps with ventilation and facilitates opening and closing the door.
Paso 3: Install the Door
After the shower walls are constructed, you are ready for the door. The installer can now measure the exact opening for the shower door installation. If needed, you can order a transom to close a gap between the door and ceiling. A transom also comes in handy if you don't plan to leave the door open to allow the shower to dry.
Paso 4: Finishing Touches
The final trim must be installed per the steam manufacturer's instructions. Before testing the steam shower, make sure that all electrical connections are complete and the water is turned on to the steam generator.
Thoughtful planning and attention to detail are essential to proper installation of a steam shower. To find a professional installer in your area, check out the Delta® Pro Directory.
 Ver innovaciones
 Inspírese
 Ver experiencias de diseño
 Encuentre piezas e identifique sus productos
 Centro de ayuda
 Registrar su producto
 Más información sobre los productos recertificados de Delta


