Saltar al contenido principal
img article how replace shower head.jpgimg article how replace shower head

Replacing your shower head is a simple and effective way to refresh your bathroom—and it only takes a few minutes. Whether you want to change the style, add functionality or simply replace your existing shower head, this guide walks you through the process step by step.

Can You Change Your Shower Head Yourself?

Even if you don't consider yourself a DIY expert, a shower head is one of the easiest plumbing upgrades you can do yourself. With just a few tools and some basic instructions, you'll be able to install a new shower head in no time. If you'd prefer to have professional help, visit our Pro Directory to find an installer in your area.

Does Any Shower Head Fit Any Shower?

Most shower heads are designed to fit on a standard ½-inch shower arm. However, there may be unusual circumstances where your new shower head just doesn't fit. If that happens, contact a professional installer for assistance.

Gather Your Supplies

Before you begin, make sure you have the following supplies:

  • New shower head (fixed mount, hand shower with shower arm mount, or two-in-one shower)
  • Toalla
  • Soft cloth
  • Llave inglesa
  • Cinta de teflón

Paso 1: Ensure the Handle is in the Off Position

There's no need to shut off the main water line to the house or to the bathroom. Just be sure to keep your shower handle(s) in the off position to stay dry.

Paso 2: Remove Your Old Shower Head

Step-by-step instructions for removing your old shower head are noted below. But first, place a towel on the shower or tub floor. This will help protect your tub/shower if a part or tool is accidentally dropped. Be sure to cover the drain, so small parts don't fall in.

  • Turn the nut that connects the shower head to the shower arm counterclockwise by hand to remove it.
  • If it's too tight, you can use an adjustable wrench. Wrap the nut with a soft cloth to protect the finish.
  • Hold the shower arm steady while untightening the shower head to prevent the arm from loosening or breaking the pipe inside the wall.

Paso 3: Prepare the Shower Arm Threads

Once the old shower head is detached, remove any leftover tape and other residue. If needed, use a 50/50 mix of vinegar and water to loosen and wipe off tough mineral deposits. It's important to get the threads clean to ensure a good seal for your new shower head.

Paso 4: Apply New Plumber's Tape

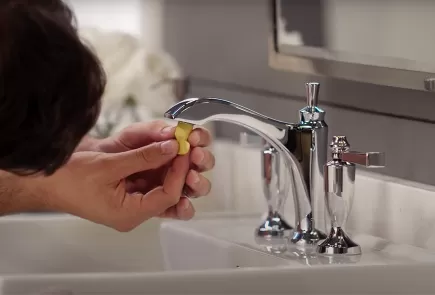
Prepare the shower arm by wrapping new plumber's tape around the threads of the shower arm. Wrap the tape clockwise two or three times to make securing the nut by hand easier.

Paso 5: Install Your New Shower Head

It's always a good idea to refer to the installation instructions for your new shower head. The basics are outlined below, but double check your instructions to make sure you've covered all the steps.

Fixed Shower Head

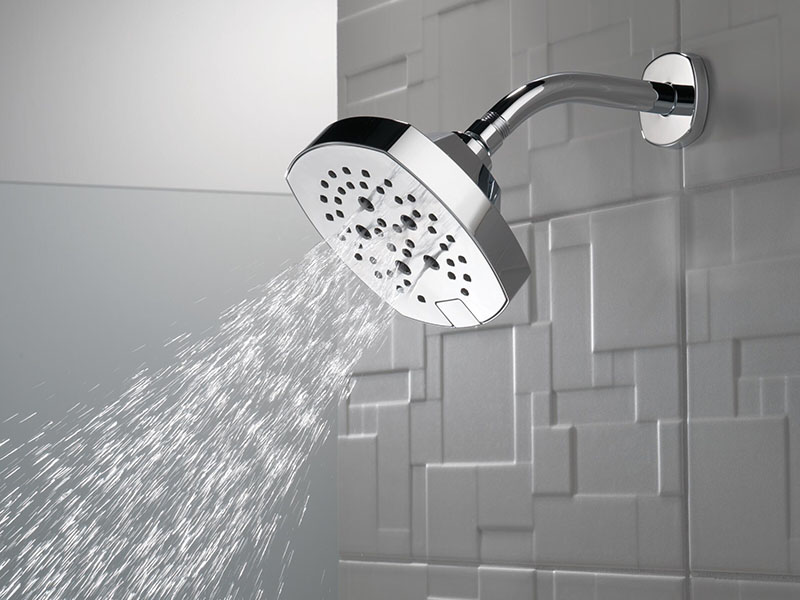
Fixed Shower Heads

  • Check to make sure there's a gasket and debris screen inside the shower head. The gasket helps ensure a tight seal, and the debris screen helps prevent larger particles from getting inside the shower head and potentially damaging internal components.
  • Hand-tighten the shower head onto the shower arm by turning the nut clockwise until the connection is snug. Be careful not to over-tighten. Avoid using tools (e.g., pliers or an adjustable wrench) that make it easy to twist too hard, potentially causing damage or leaks.


Duchas manuales

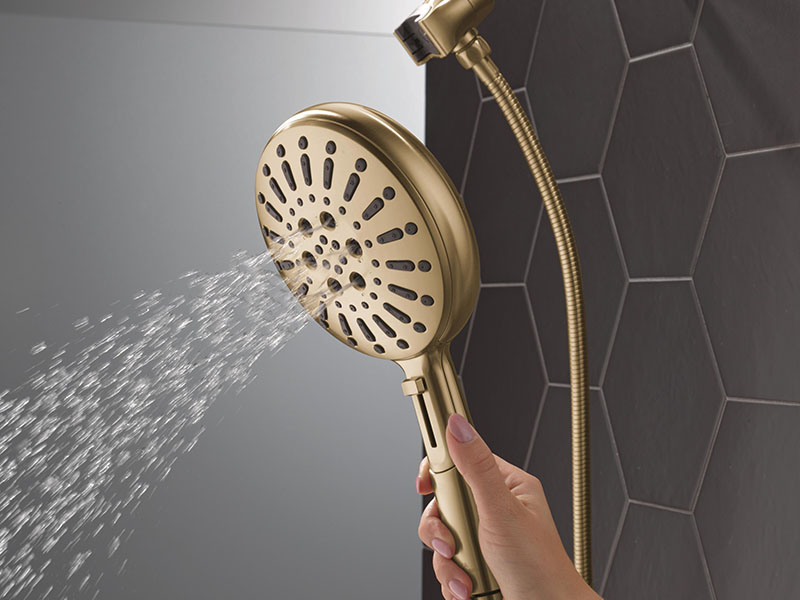
Duchas manuales

  • Check to make sure there's a gasket and debris screen inside the hand shower mount. The gasket helps ensure a tight seal, and the debris screen helps prevent larger particles from getting inside the hand shower and potentially damaging internal components.
  • Attach the hand shower mount to the shower arm and tighten by hand. Be careful not to over-tighten. Avoid using tools (e.g., pliers or an adjustable wrench) that make it easy to twist too hard, potentially causing damage or leaks.
  • Verify there's a hose gasket in the hose nut on both ends of the shower hose.
  • Connect the flexible shower hose to the mount and the hand-held shower. Hand-tighten the connections. Installation tip: Sometimes the hose will have two different types of connections. If one end has a hex nut (six sides), attach it to the shower arm mount. Attach the tapered conical nut to the hand-held shower.
  • Place the hand-held shower head in the mount.


Two-in-One Combo Showers

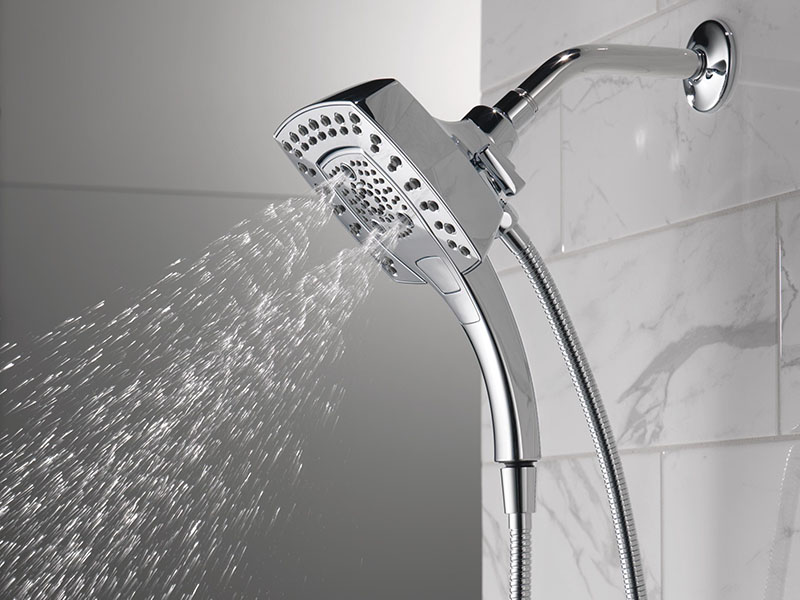
Two-in-One Showers with a Fixed Shower Head and Hand Shower

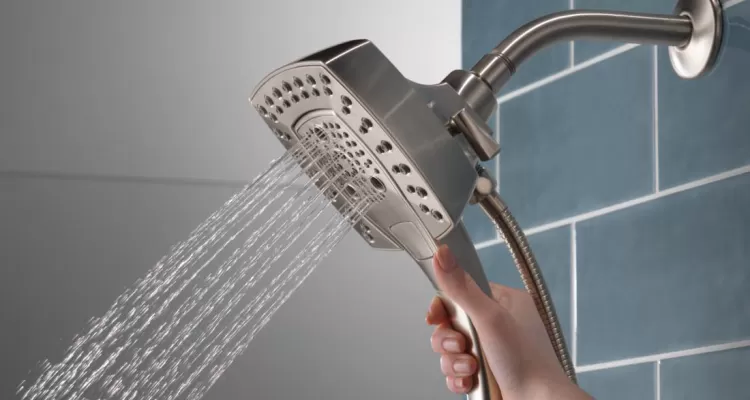
For many two-in-one showers, like the Delta® In2ition® and HydroRain® models, the shower head attaches directly to the shower arm. Some combination showers have a diverter instead. See the installation instructions for combo showers if your model has a diverter.

  • Check to make sure there's a gasket and debris screen inside the shower head. The gasket helps ensure a tight seal, and the debris screen helps prevent larger particles from getting inside the shower devices and potentially damaging internal components.
  • Hand-tighten the shower head onto the shower arm by turning the nut clockwise until the connection is snug. Be careful not to over-tighten. Avoid using tools (e.g., pliers or an adjustable wrench) that make it easy to twist too hard, potentially causing damage or leaks.
  • Place the hose gaskets into the hose nuts on both ends of the hand shower hose.
  • Connect one end of the hose to the hand shower and the other to the shower head. Hand-tighten the connections. Installation tip: Sometimes the hose will have two different types of connections. If one end has a hex nut (six sides), attach it to the shower head. Attach the tapered conical nut to the hand shower.
  • Place the hand-held shower in the mount on the shower head.


Combo Showers with a Diverter, Fixed Shower Head and Hand Shower

  • Check to make sure there's a gasket and debris screen inside the nut on the diverter/shower mount. The gasket helps ensure a tight seal, and the debris screen helps prevent larger particles from getting inside the shower devices and potentially damaging internal components.
  • Hand-tighten the diverter/shower mount onto the shower arm by turning the nut clockwise until the connection is snug. Be careful not to over-tighten. Avoid using tools (e.g., pliers or an adjustable wrench) that make it easy to twist too hard, potentially causing damage or leaks.
  • Hand-tighten the shower head onto the diverter/shower mount by turning the nut clockwise until the connection is snug.
  • Place the hose gaskets into the hose nuts on both ends of the hand shower hose.
  • Connect one end of the hose to the hand shower and the other to the diverter/shower mount. Hand-tighten the connections. Installation tip: Sometimes the hose will have two different types of connections. If one end has a hex nut (six sides), attach it to the shower arm mount. Attach the tapered conical nut to the hand shower.
  • Place the hand-held shower in the mount.

Paso 6: Turn on the Water and Check for Leaks

The final step is easy: turn on the water to check for leaks. If you see any leaks, carefully tighten the connection with the adjustable wrench and apply more plumber's tape if needed. Again, be careful not to overdo it. Shower head connections are designed to be hand-tightened; over-tightening or adding too much plumber's tape might crack the nut.


Are you a visual learner? Check out the video below to see an installation in action.